A weekend workshop is a particular kind of teaching. There is no homework, no exam, and no expectation that anyone will be brilliant by Sunday tea-time. What people want is to make something with their hands, in good company, and to go home knowing more than they did on Saturday morning. Two days gives you enough room to teach a real skill, and it is short enough that nobody has to rearrange their life. Whether it runs smoothly comes down to decisions made long before the first person walks in.
Everything else follows from the project. Choose one piece that can be finished, or very nearly finished, in the time you have — at the speed a beginner actually works. A common mistake is to plan something you can make in four hours and assume a group of eight will manage it in seven. They won't.
Make the project yourself first, with a timer running. Then multiply that figure by two. If it still fits the weekend alongside proper breaks, you have a workable plan. If it doesn't, simplify the design rather than rush the teaching. A smaller object, well finished, beats a grand one that leaves half-made.
Write the weekend out in blocks and be generous with the slow parts. Here is a shape that works for most crafts:
Sunday can be shorter. Four or five hours is plenty once people know their way around the tools. Guard the tidy-up slot: it protects the room, your nerves and the next booking.
Pricing a workshop is not about what feels polite. Add up venue hire or the value of your own space, materials including wastage, insurance, refreshments, card and booking fees, and your own time — not just teaching hours but shopping, prep, admin and the day spent packing kits. That total, divided by the number of places you can realistically fill, gives you a floor. Add a margin on top so the weekend is still worth running when numbers dip.
Take a deposit at booking, with the balance due a week before, and publish a clear cancellation policy you actually stick to. If participants need to buy materials, state that plainly in the listing. If you are VAT-registered, hiring a venue or taking on paid help, get proper advice from an accountant or insurer rather than guessing.
Prepare more than you think you need, so that nobody has to wait while you fetch something. A tray or box per person, packed the week before, is the single best investment of your time.
Label everything, including your own tools. If the craft is dusty, hot, sharp or involves fumes, plan ventilation and protective equipment properly, and tell people in advance what to wear and what to leave at home.
Arrive early and lay the space out so it teaches for you. Tools within reach, power where you need it, water nearby, and a clear drying shelf so work in progress survives the night. Seating matters more than people admit: comfortable, at the right height, arranged so everyone can see a demonstration without standing up.
Light is non-negotiable for fine work — bring lamps if the daylight is poor. Keep refreshments away from the making tables, keep music low or off, and pin a running order to the door along with your phone number.
You will have someone who has never held the tool and someone who has been making things for years. Plan for the middle, then build in an extension — a finer finish, a variation, a second smaller make — for those who race ahead.
Keep demonstrations to about ten minutes. Longer, and people stop watching and start fretting about their own piece. Show the whole process once slowly, then repeat only the tricky step, then walk the room. Most of your teaching happens over someone's shoulder, in two sentences rather than a speech.
If three people stall at the same step, stop the room and re-demonstrate. It saves repeating yourself seven times.
Hand out a short form before anyone leaves. Three questions is enough: what worked, what didn't, and what would you like to learn next. Keep it anonymous if you want honest answers, and give people a pen — a form without a pen comes back blank.
Watch as well as read. Where did the group slow down? Which tool caused the most questions? What did you run out of at 3pm? A follow-up email two or three days later, with a couple of photographs of finished work, gives people something to show and reminds them to book again.
Then sleep properly, arrive early, and put the kettle on before the first car pulls up. A workshop that feels calm is simply one where the thinking was done weeks ago.
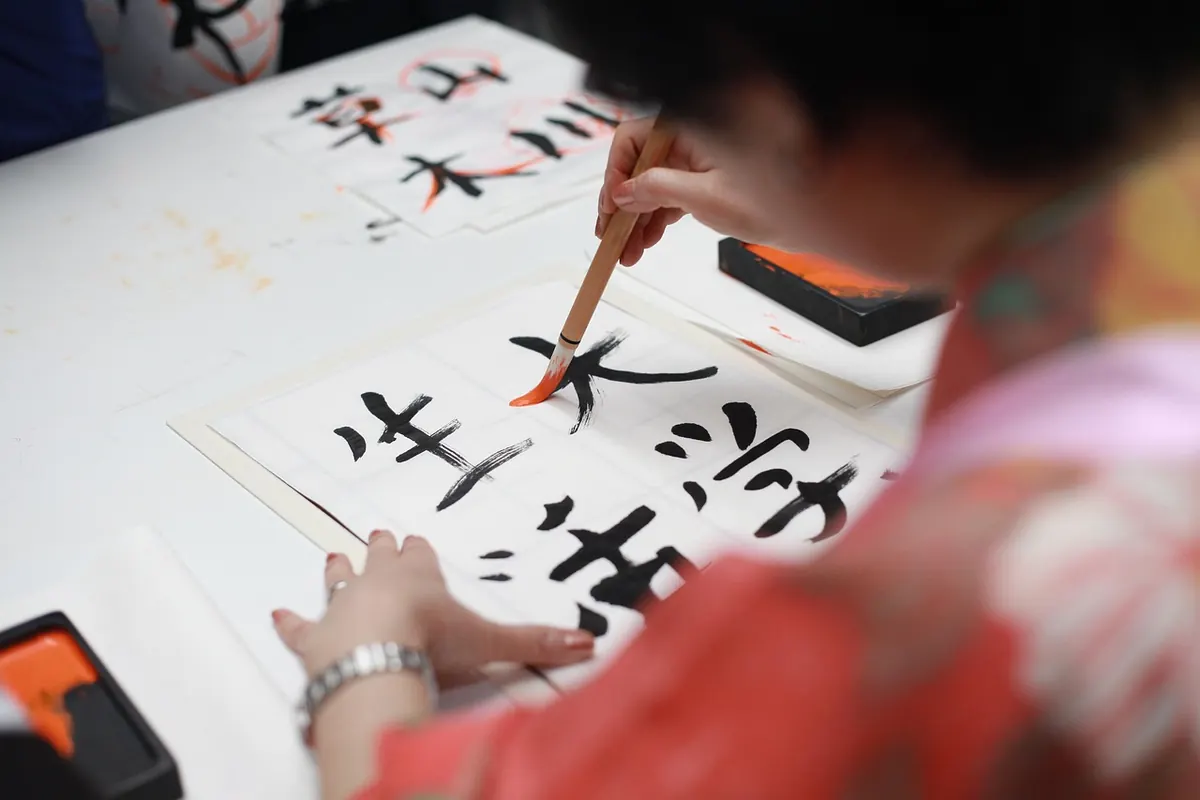
Photo: Engin_Akyurt / Pixabay