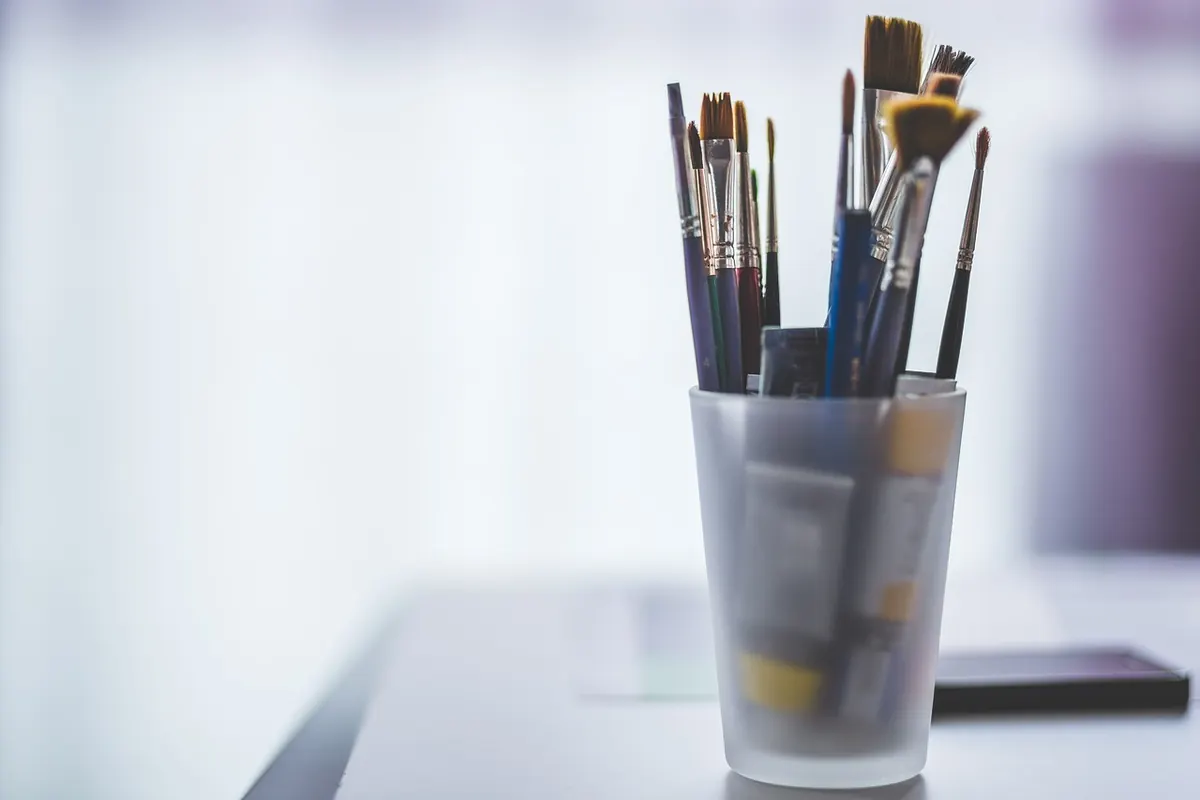
A home printmaking studio does not need a spare bedroom, a floor-standing press or a landlord who tolerates ink on the walls. Most people start with a corner of a room, a sturdy table and a hand-cranked press the size of a small suitcase. What makes it work is planning around four things: where the ink goes, where prints dry, where the air moves and where everything lives when you are not printing. Get those right and a space barely two and a half metres square will carry you a long way.
Measure the corner before you buy anything. A press with an A3 bed needs roughly a metre of clear surface underneath it, plus room to stand and swing the handle — call it two metres by one and a half of floor. If that is not available, a folding table and a baren will still get you printing.
Three details matter more than size. The floor: ink and oily rags will find carpet eventually, so choose a hard floor, a washable mat or an offcut of vinyl. The light: a window helps you judge colour, but keep paper and ink tins out of direct sun, which fades prints and skins ink. The table: solid, at about elbow height for standing work, and ideally on castors or hinged so it disappears when you are finished. A daylight bulb over the inking slab makes a grey afternoon workable.
For relief printing — lino, woodcut, monotype — you do not need a press at all. A baren, a wooden spoon or a rolling pin and some body weight will print a block beautifully. A press earns its place when you want repeatable pressure, intaglio or collagraph work, or an edition of more than a handful of prints.
Hand-cranked presses come in two broad families. Relief presses push a block and paper between a roller and a flat bed. Etching presses have a top roller wrapped in felt blankets and can handle intaglio plates as well as relief blocks, which makes a small etching press with an A4 or A3 bed the more flexible buy for a compact room.
Check the bed for rust pitting and warp, turn the wheel to feel for tight spots in the bearings, and inspect the rollers for flat spots. A press is heavy cast iron, so measure doorways and steps before arranging delivery, and think about floor loading if you are upstairs. Clamp or bolt it to a bench — a press that walks across the table is a press that prints badly.
The core kit is smaller than most beginners expect:
Water-based inks clean up with soap and water and are the sensible starting point in a room you also live in. Oil-based inks give a richer, longer-lasting result but need oil or solvent cleaning. Buy small quantities while you learn which colours you actually reach for.
Printmaking is a low-risk craft, but inks, solvents, sprays and etching mordants all give off fumes, and a small room with the door shut is the worst place to meet them. Work with a window open and a second opening across the room to create a through draught. If you use solvents regularly, a box fan set in the window to pull air out is more effective than a fan blowing at your face.
Decant only what you need, keep lids on tins, and put used rags in a lidded metal bin rather than the household waste. Nitrile gloves resist solvents better than latex. For etching, ferric chloride and copper sulphate mordants are commonly used at home in place of strong acids, but they still deserve care: read the safety data sheet, keep them in labelled trays, and never work with them in a sealed room. If your only workspace is an unventilated box room, stick to water-based inks and take proper advice before introducing solvents or mordants.
A tidy studio is a ventilated studio: lids on, rags binned, nothing left open on the slab overnight.
Prints need to dry flat and they need air. Stack wet sheets and the ink offsets onto the back of the print above — a mistake you only make once.
A simple rack is a wooden frame with shelves of aluminium window mesh, sized to your largest paper and set on castors so it rolls under the bench between sessions. Dish racks and mesh clothes airers can be adapted for small work. Intaglio prints come off the press damp and are best laid between blotters under a light weight, with the blotters changed daily for the first few days so nothing goes musty. Relief prints can be pegged on a line briefly, but flat drying is safer for anything you plan to edition or sell.
Store paper flat, in its original wrapper or an acid-free portfolio box, away from radiators and damp walls. Paper that has cockled or foxed will show it in every print. A shallow plan chest is ideal; under-bed boxes or a decent cardboard portfolio will do while you build up.
Keep ink tins upside down so the skin forms on the base and can be peeled off. Rollers should rest on their axles, never on the rubber. Lino and vinyl blocks stack flat with newspaper between; wood blocks are better stored flat and lightly weighted to stop them twisting. Etching plates go flat, interleaved with acid-free tissue, wiped dry after every session.
Label everything. Masking tape on each tin with the colour and date, and a notebook recording registration marks, pressure settings and ink mixes, will save you more time than any piece of equipment.
Set aside two hours and keep the variables few:
Then clean up properly: ink off the slab, tools wiped, rags in the bin, window open for ten minutes. Printmaking rewards repetition far more than equipment, and a small studio you can set up and clear away in a quarter of an hour is one you will actually use.
Photo: Didgeman / Pixabay